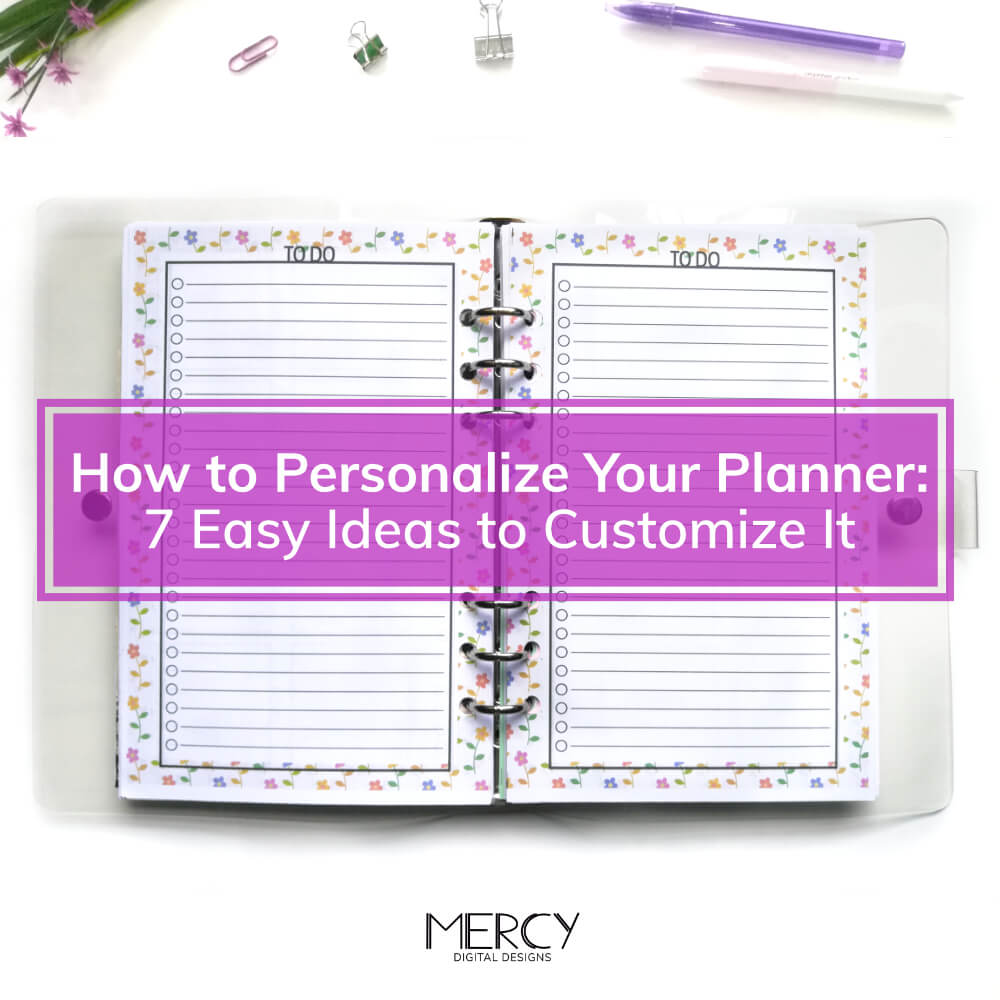
Here you will find 7 ideas about how to personalize your planner, especially a printable planner. Also you will find easy ways to customize your paper planner, but one of the main advantages of printable planner is you have total control about where and how to print it. In short you will know original approaches to make your planner look great.
Some ideas will be better for black and white printable planners or minimalist planners, which have more space and freedom to add some details. For example, you can check our Free Black and White Printable Planner Collection or subscribe our mailing list to gain free access to the Subscriber’s Libray.
1. How to personalize your printable planner with colored paper
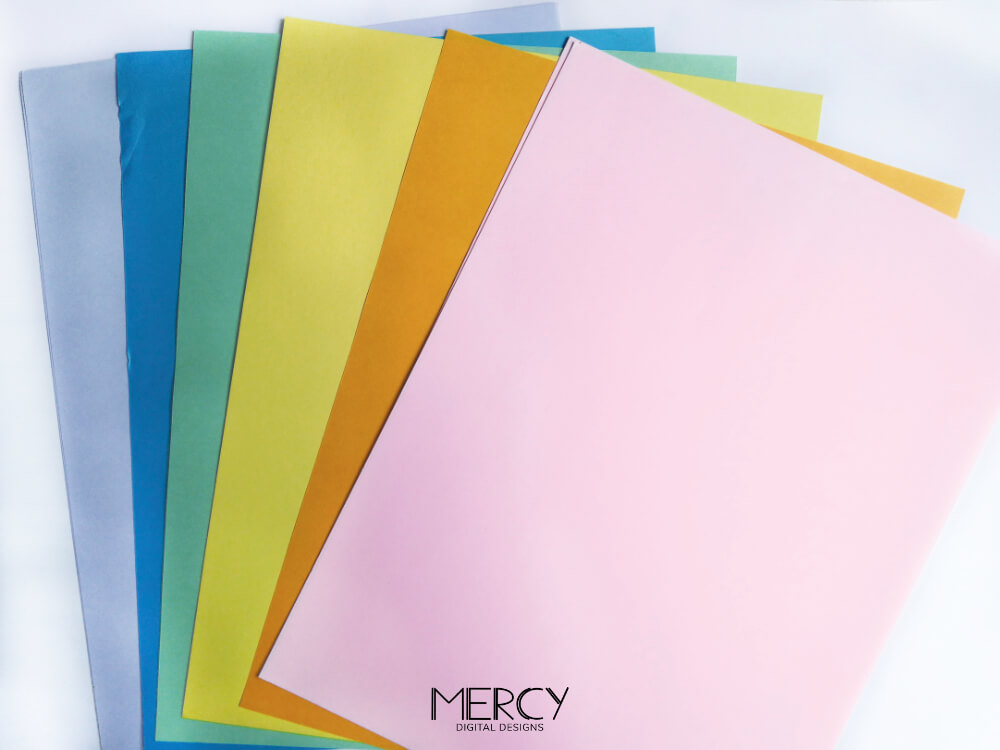
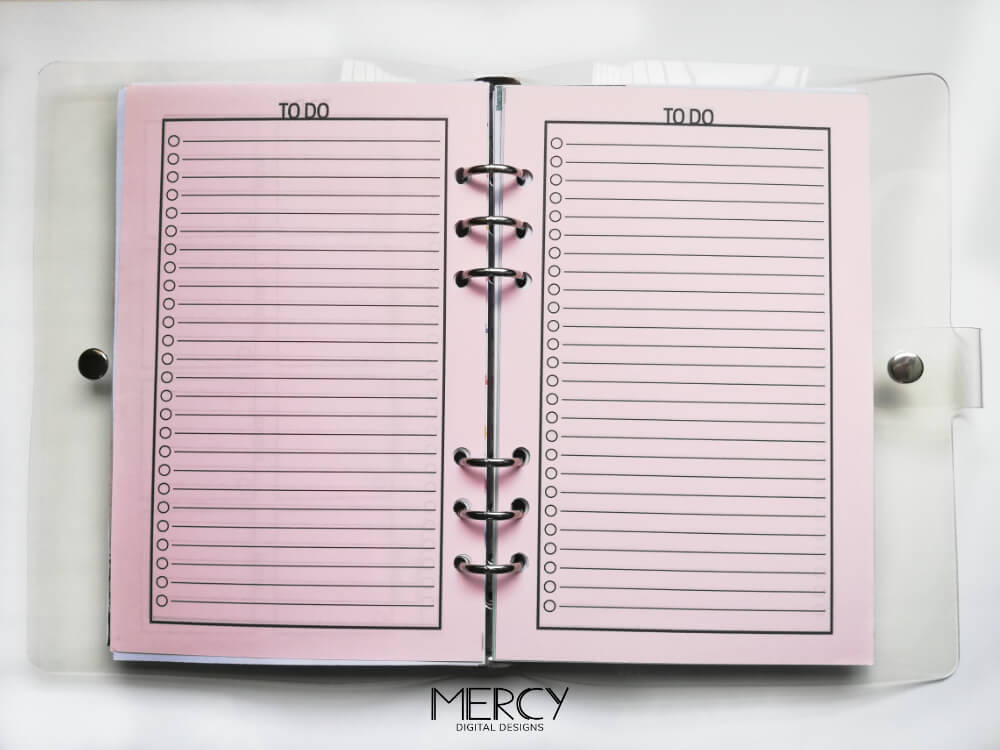
This functions perfectly when printing black and white planners on colored paper sheets like light pink, blue, green, beige and more. Because of this type of planner, there is optimal contrast between the background and the black ink. You could also print a printable planner with dark colors on a light colored paper sheet, but it will depend on the colors of the planner.
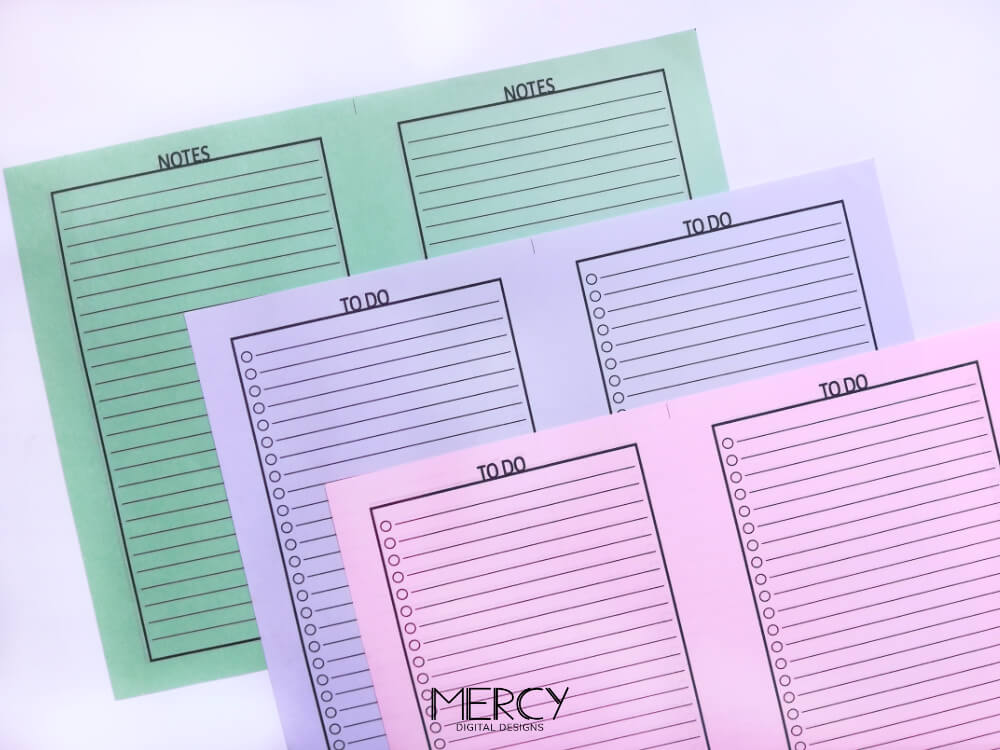
Try with a light colored paper sheet, and different colors between the planner and the paper. For example, if your planner is mostly green, you could print on beige paper or light yellow. If you print similar colors, the planner won’t have good visualization.
2. Customize your planner with scrapbook paper or printable digital paper
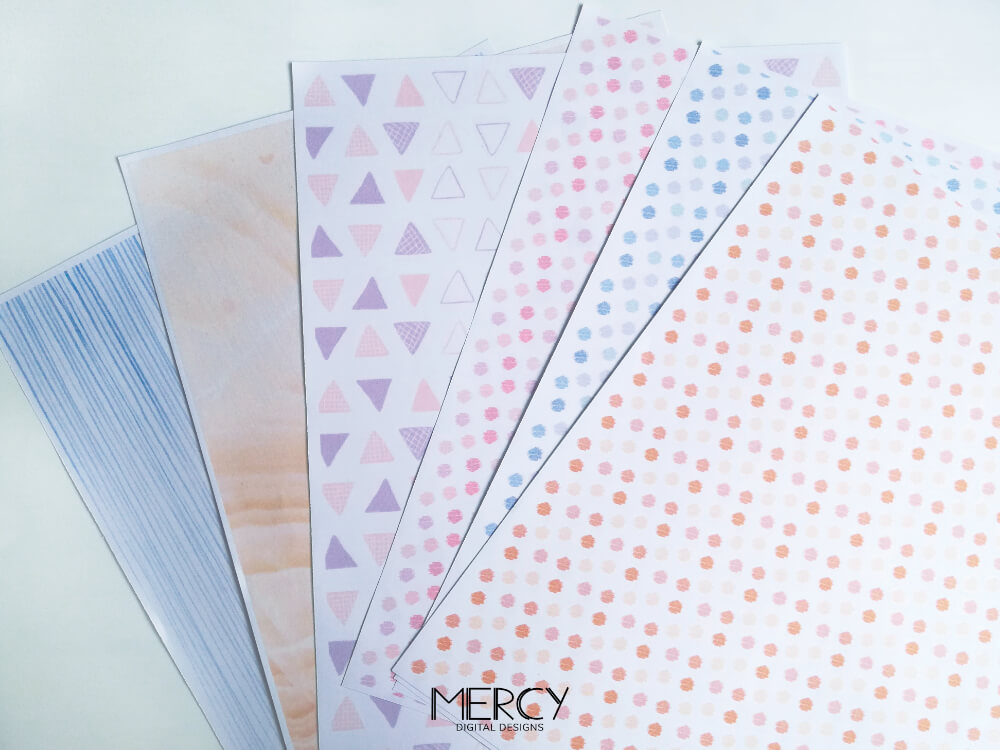
In this case, it’s recommended printing your black and white planner or dark color planner in light or medium tone color scrapbook paper or printable digital paper for best results. Moreover, it will be better if the paper’s design is subtle or monochrome.
If you already have a scrapbook paper, check its size, place it on the printer and print your planner. For more details about how to print your planner, you can read this post.
If you already have scrapbook paper, print your black and white printable planner or minimalist planner.
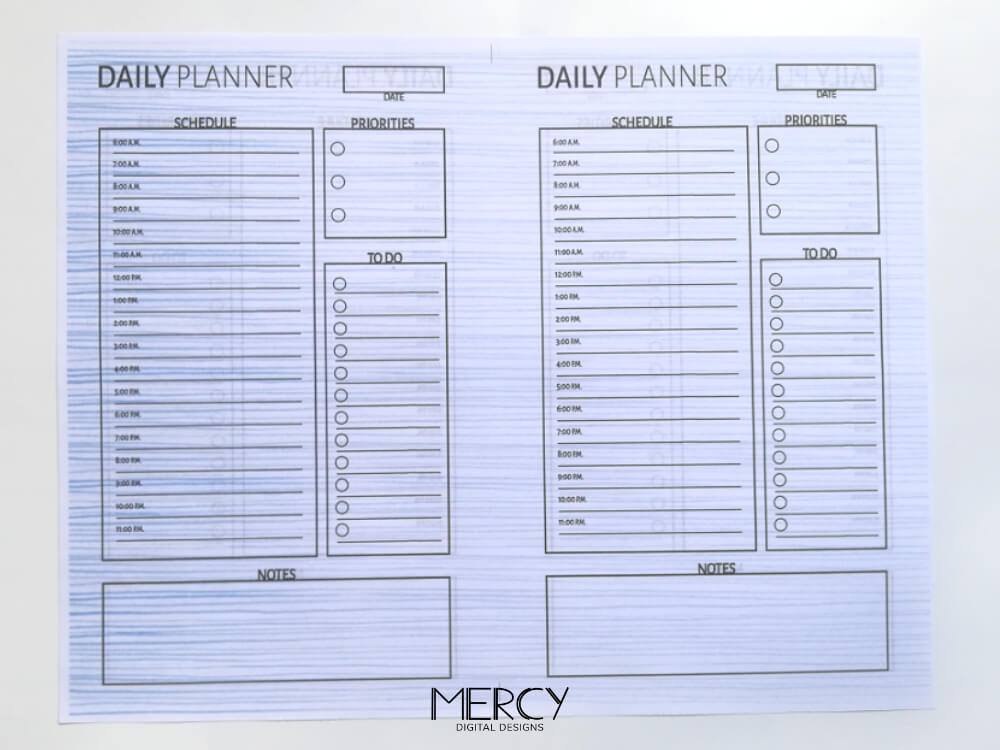
On the other hand, if you want to use a digital paper:
- Get a digital paper.
- Print your digital paper first. If you want your planner on both pages of the paper, print again the digital paper on the other side.
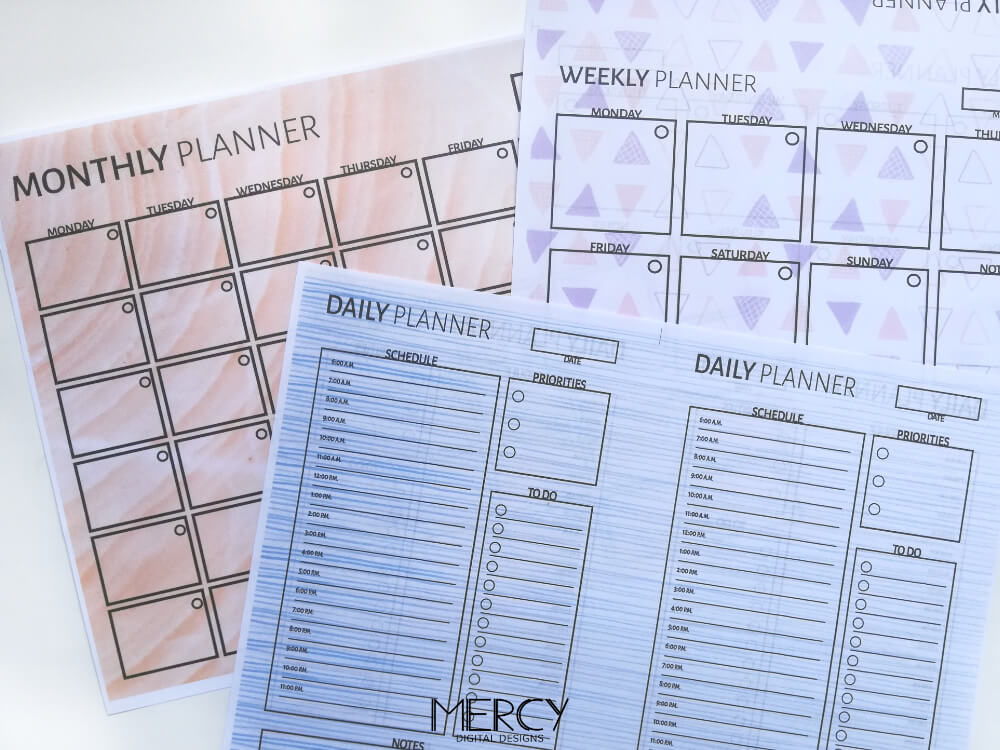
- Finally, print your printable planner on the same paper sheet you print the digital paper.
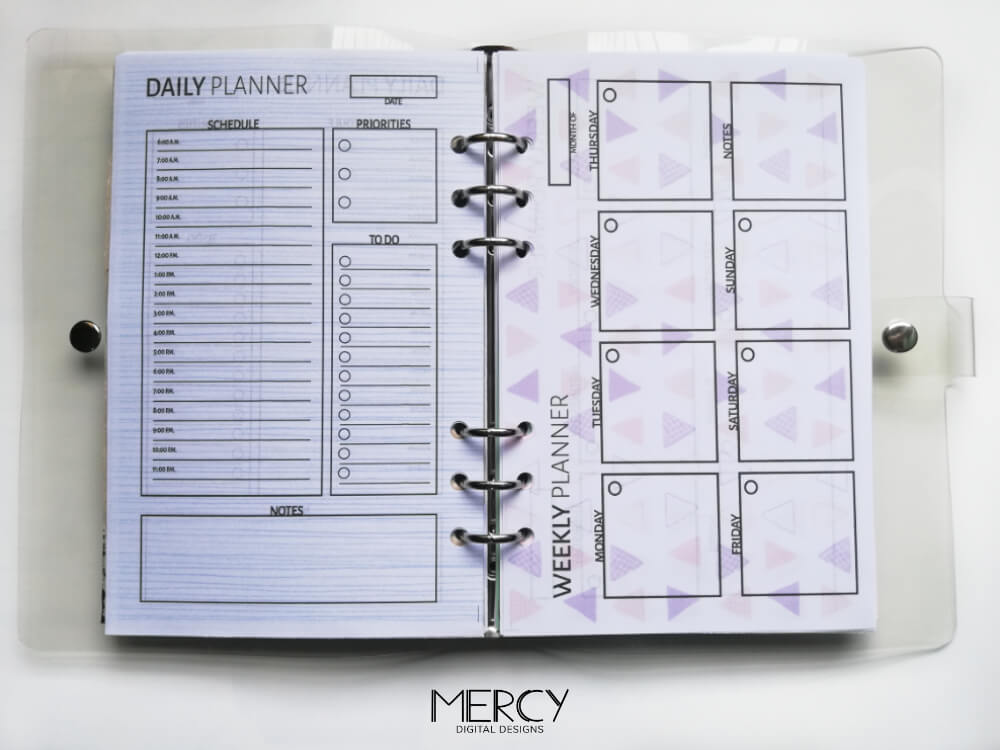
And your you’re done.
3. How to personalize your printable planner with writing paper
Print your printable planner on bordered writing paper or bordered stationery paper. This is similar to the previous point. However, this type of paper has its design all around the borders of the page or in some corners of the page. Consequently, the space on the middle of the page will remain blank and even pastel planners will look great.
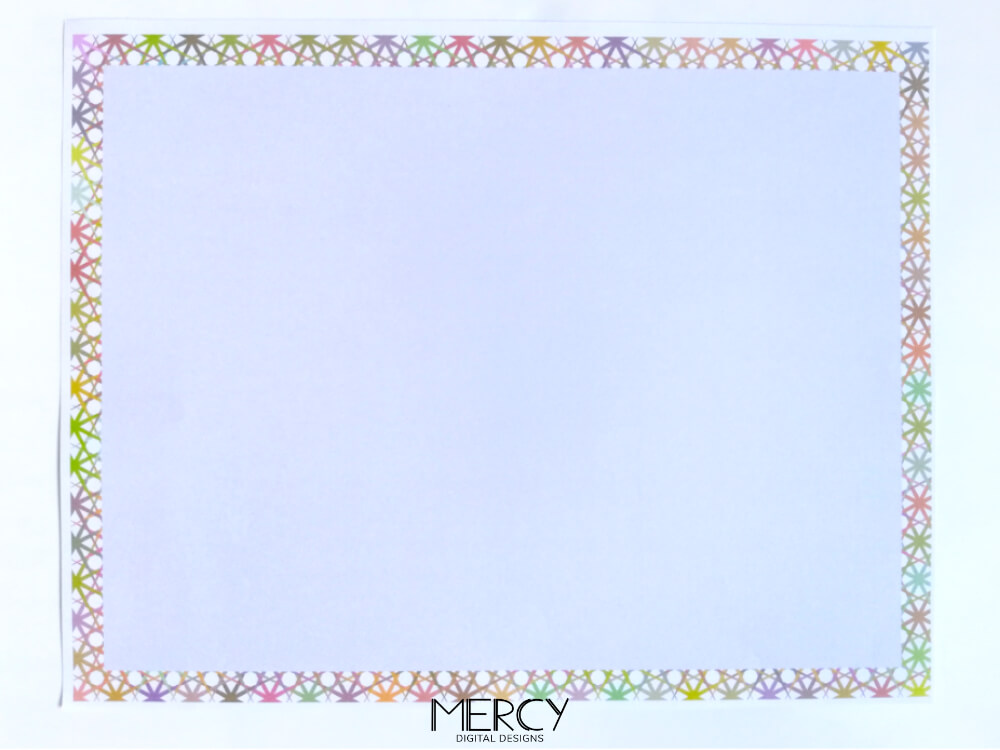
If you already have stationery paper, print the planner on it. In this type of paper you could print a planner on any color if it has enough margin space on the sides.
If you do not have bordered writing paper, you can get a printable one like the following image.
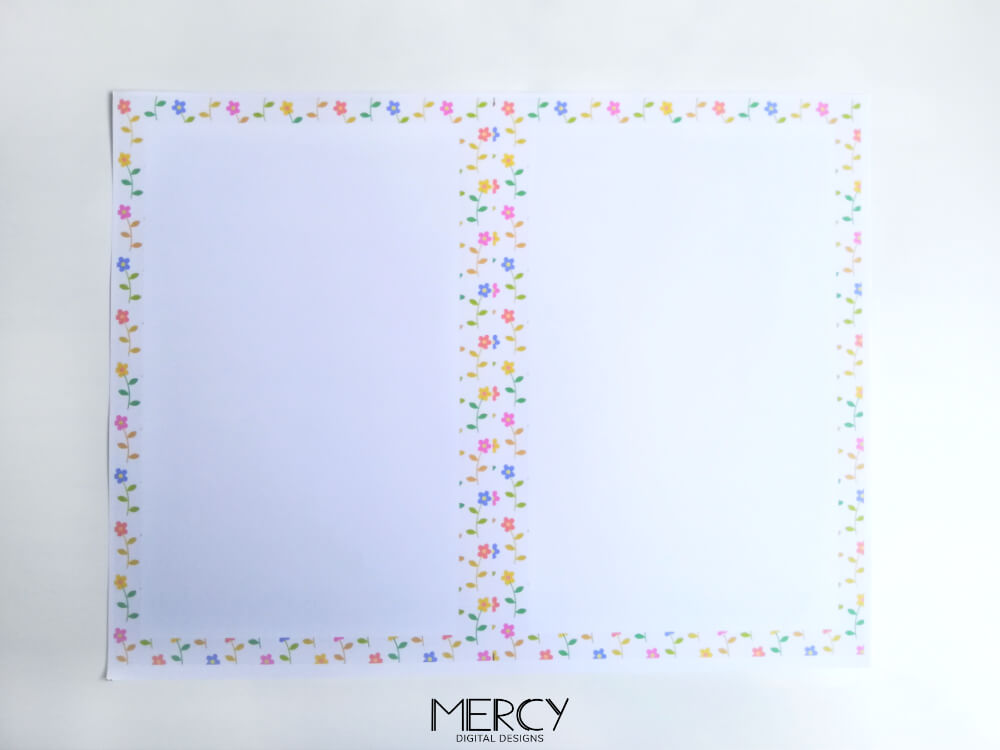
Firstly, print the writing paper. On both sides if necessary.
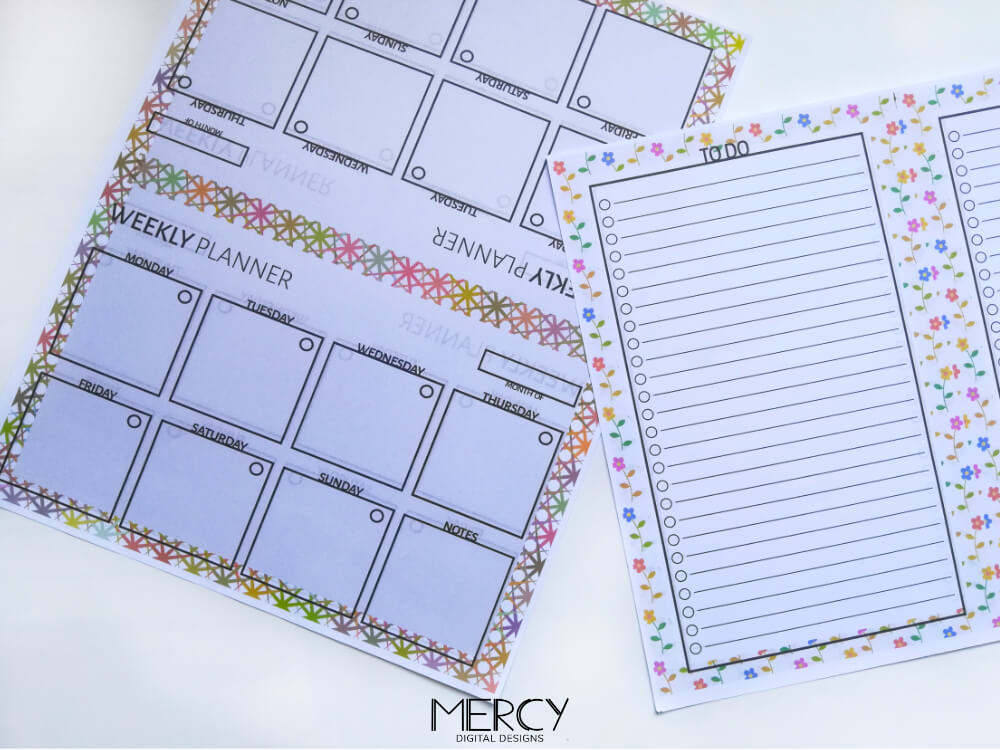
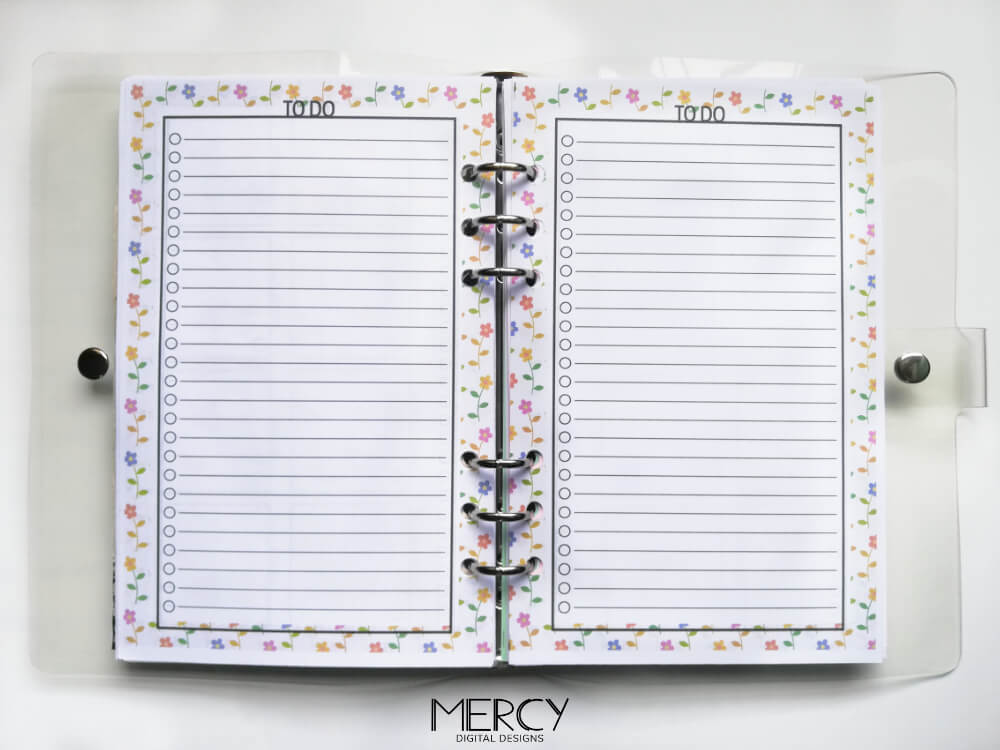
Secondly, on top of the writing paper, place it again in the printer and print the planner. And that’s it!
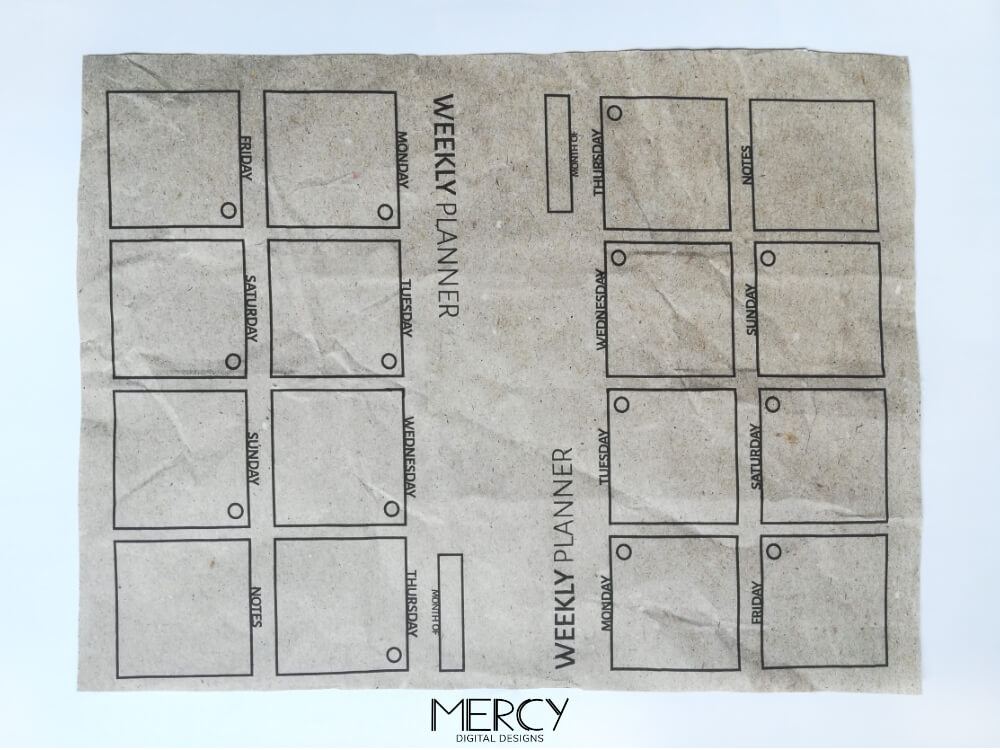
4. Print the planner on kraft paper
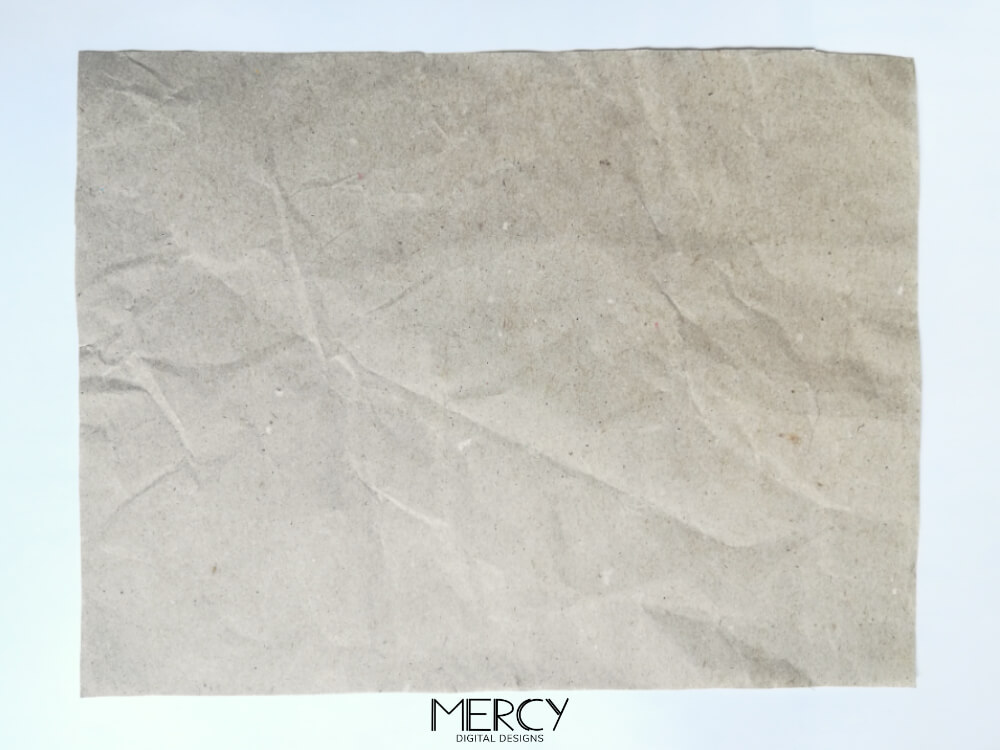
For a vintage, boho, natural or rustic look you can print your planner on kraft paper. Remember to print a planner with vivid colors, dark colors or black like our free printable weekly planner. It will look so beautiful and different!
5. Customize your printable planner with stickers
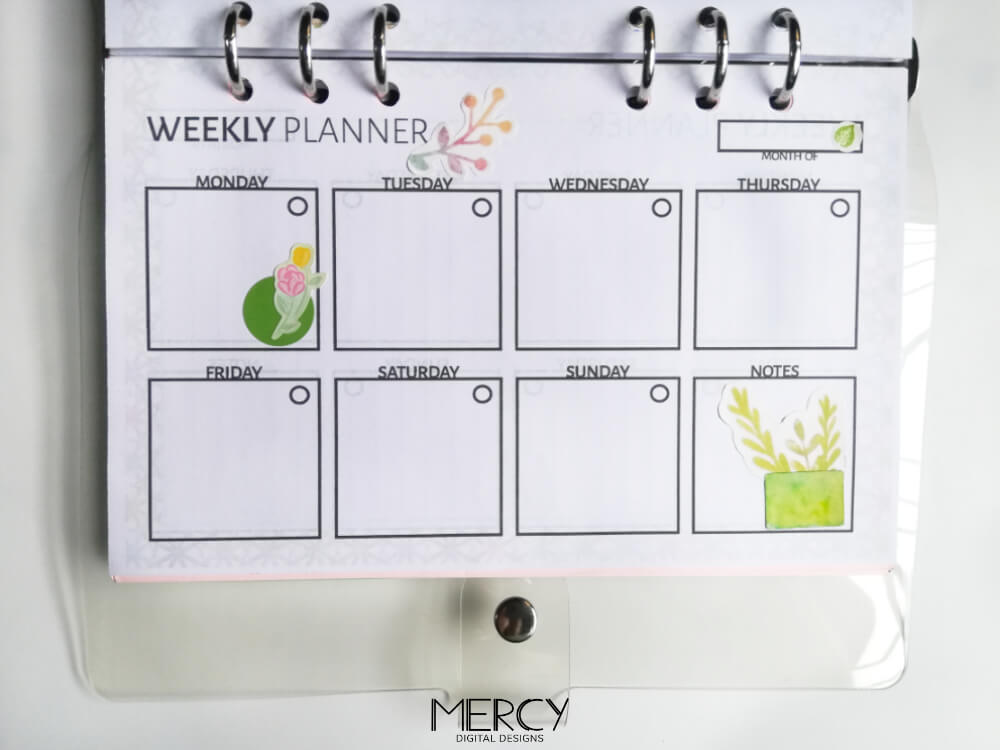
You can personalize your printable planner, specially the minimalist and black and white planners with stickers. You can use decorative ones like I did or functional stickers.
6. Personalize your printable planner using pens
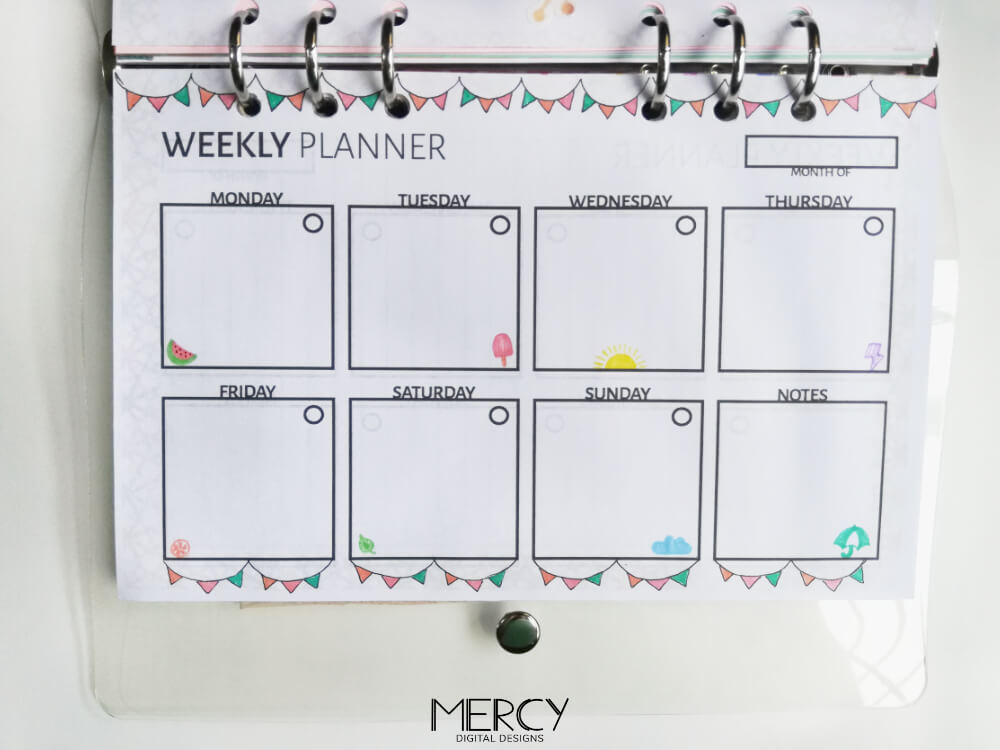
You can customize any planner making doodles with pens. Get inspired and draw dividers, borders, decorative small doodles and even simple lines. This will make your planner stand out.
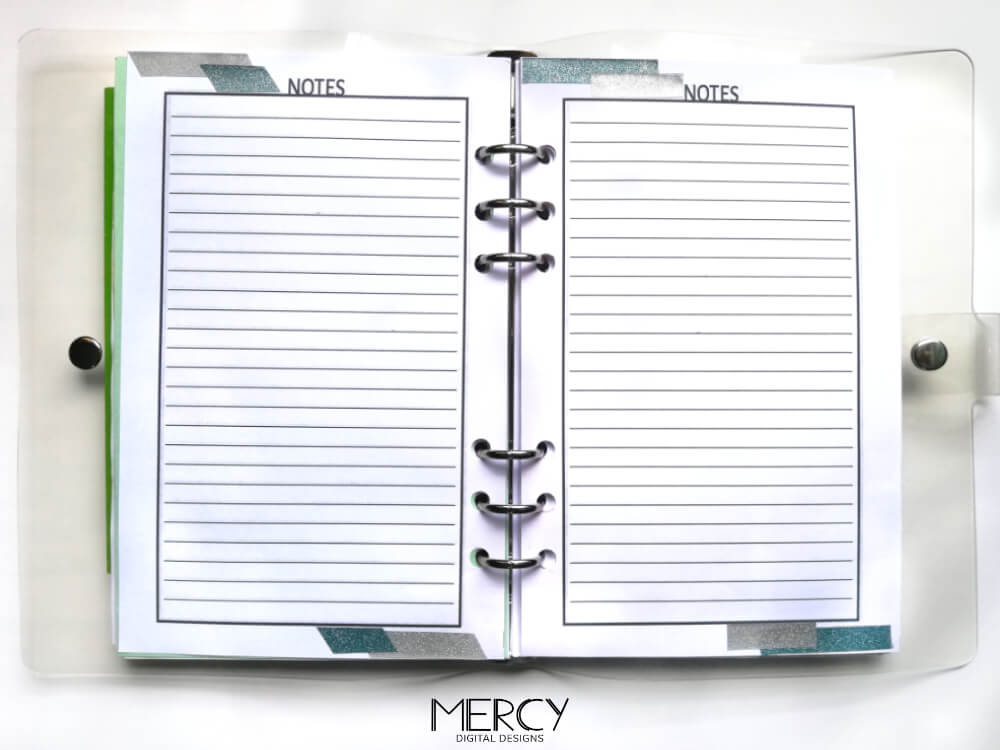
7. Use washi tape to customize your planner
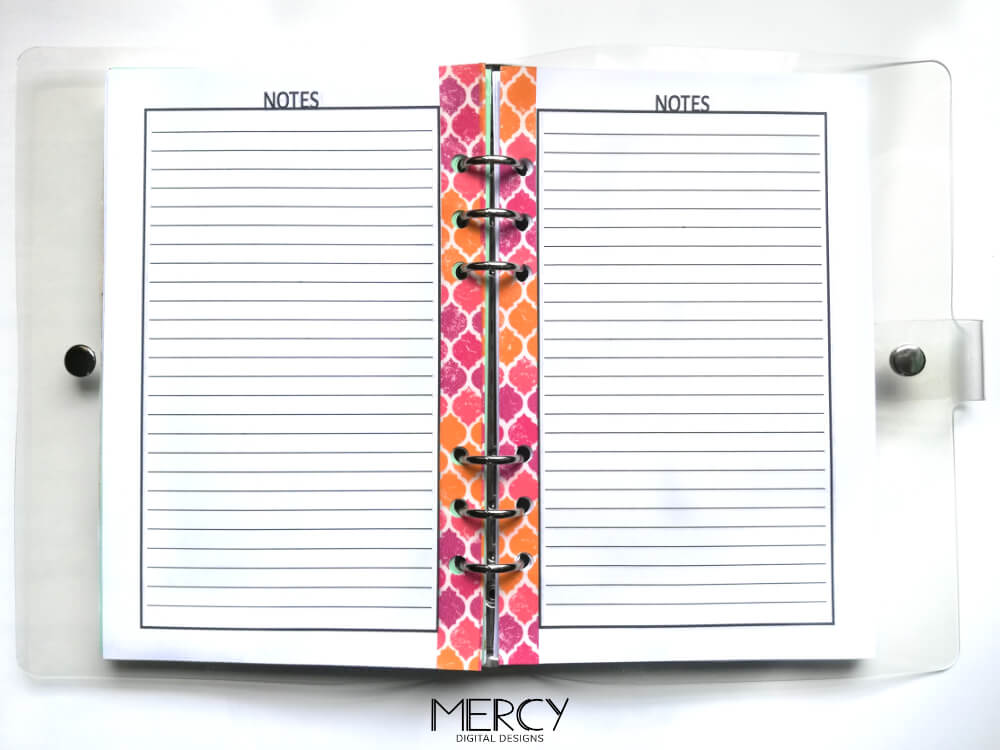
Use washi tape to decorate the borders of your planner or a combination of them to highlight titles, corners or something important.
I hope you enjoyed this article about how to personalize your planner and get inspiration to implement it.
If you have any other idea or you want to show your version of any of these personalizations, please leave a comment below!
