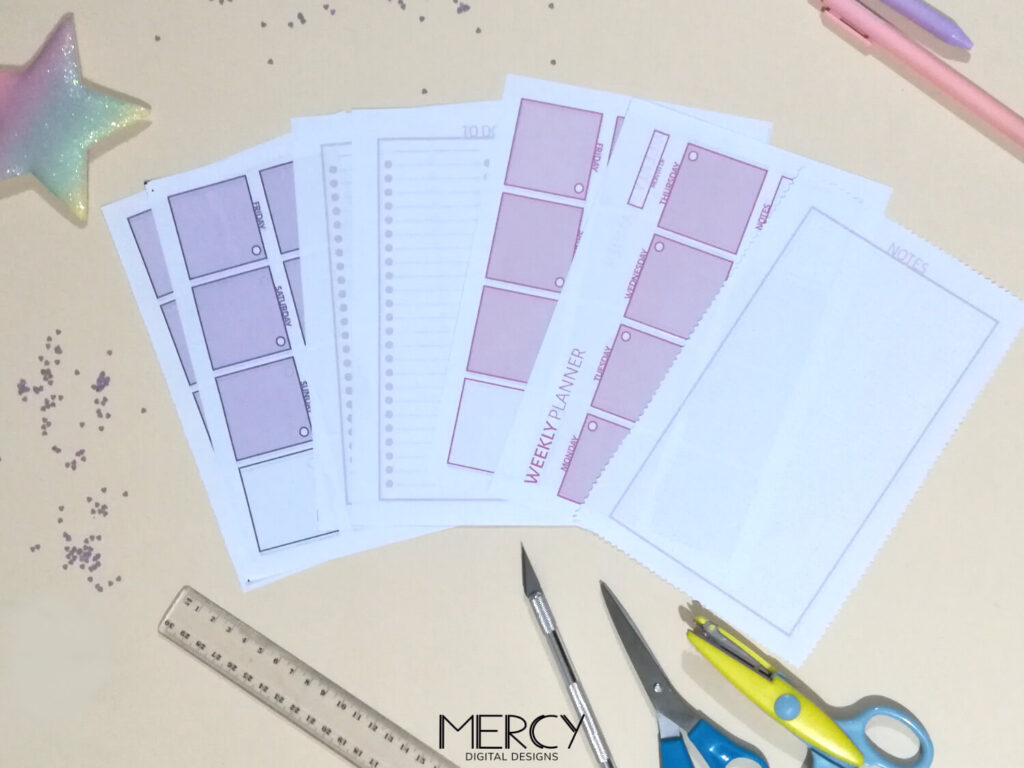
Once you have your printable planner pages, you will want to know how to cut printable planner inserts for the planner that have smaller sizes like A5, A6, Half Letter, Personal and so on. Especially if you printed on an A4 or US Letter paper and have crop marks. In this post you will learn 3 different ways to cut them. For more details about printing your planner and its crop marks, you can see How to print planner pages fast and easy.
In particular, all our printable planner pages come with a single page planner with crop marks and double sided planner with crop marks. Including our free printable planner in half letter size. To grab your free printable planner, you can get it at the Subscriber Library.
How to cut printable planner inserts in 3 different ways

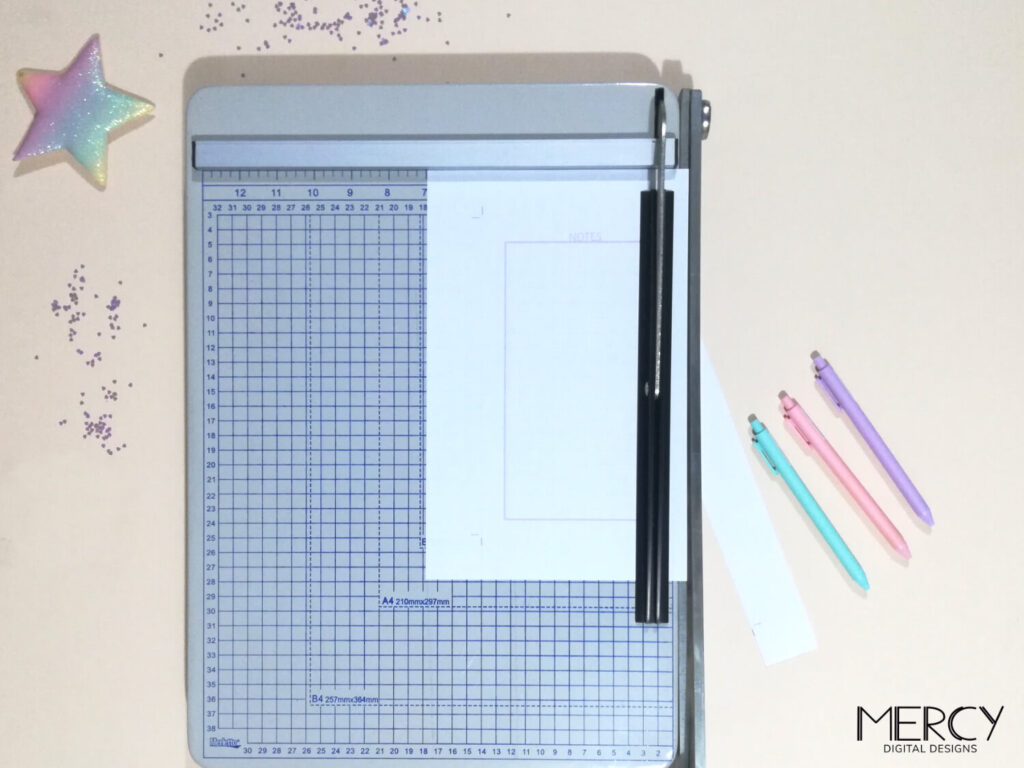
1- Cut your printable planner with a guillotine trimmer (paper cutter)
For this method you will need: a guillotine trimmer or paper cutter and a printed planner insert with crop marks.
First, look for the crop marks of your printable planner. They are thin lines positioned vertically and horizontally in the corner or in the middle if the planner has two pages per sheet.
When the page has one planner insert, generally the planner is centered on the middle of the page and the crop marks are in the corners of the planner. On the other hand, if it is a double sided page, it has crop marks in the middle of the sheet for getting two planners when cut, and, depending on the size, it also has crop marks in the corners.
Second, place the page with the crop mark you will cut aligned with the guillotine’s blade and be sure the paper is completely against the top of your guillotine. Then, cut this side of the page.
Third, rotate the planner to cut another side of the page. Again, align the parallel crop mark with the blade and cut. If you are cutting a double sided planner, pay attention to not let the crop marks of the middle disappear if you let it for the end. Continue until you finish cutting your planner.
2- How to cut your printable planner inserts with a paper knife

Personally, this is my favorite way to cut my planner pages.
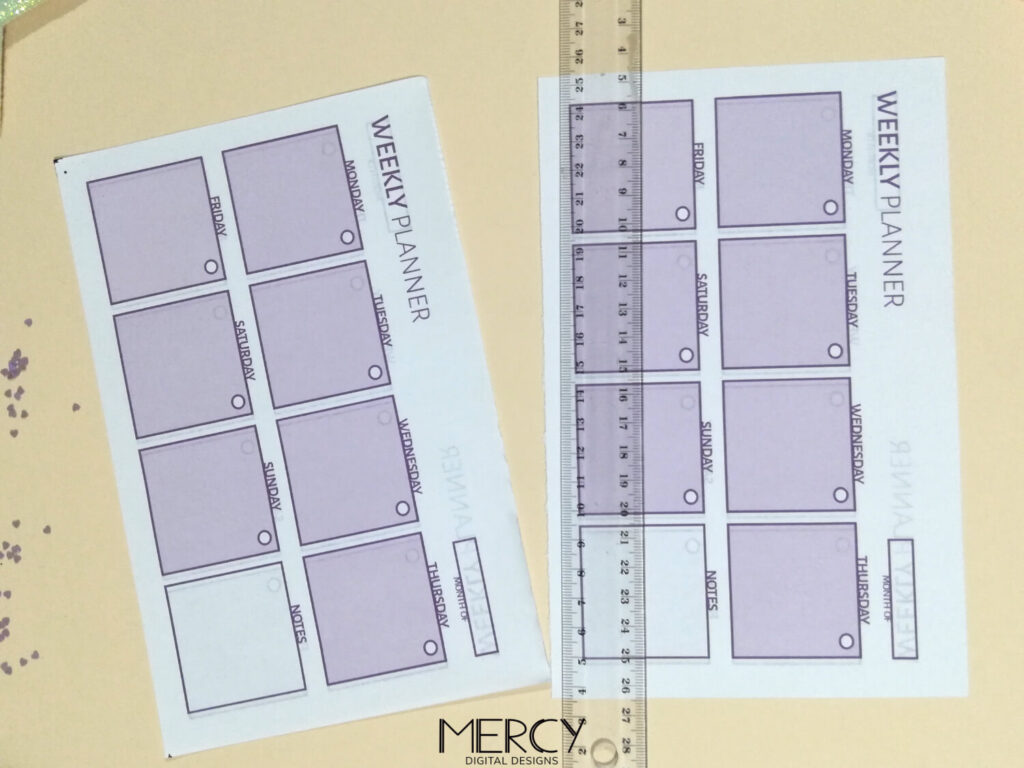
You will need: a paper knife or Xacto knife, a ruler (preferably a non-slip ruler) and a cutting mat (optional). Instead, you could use thick cardboard to not damage the surface where you will be cutting. And, of course, your printed planner.
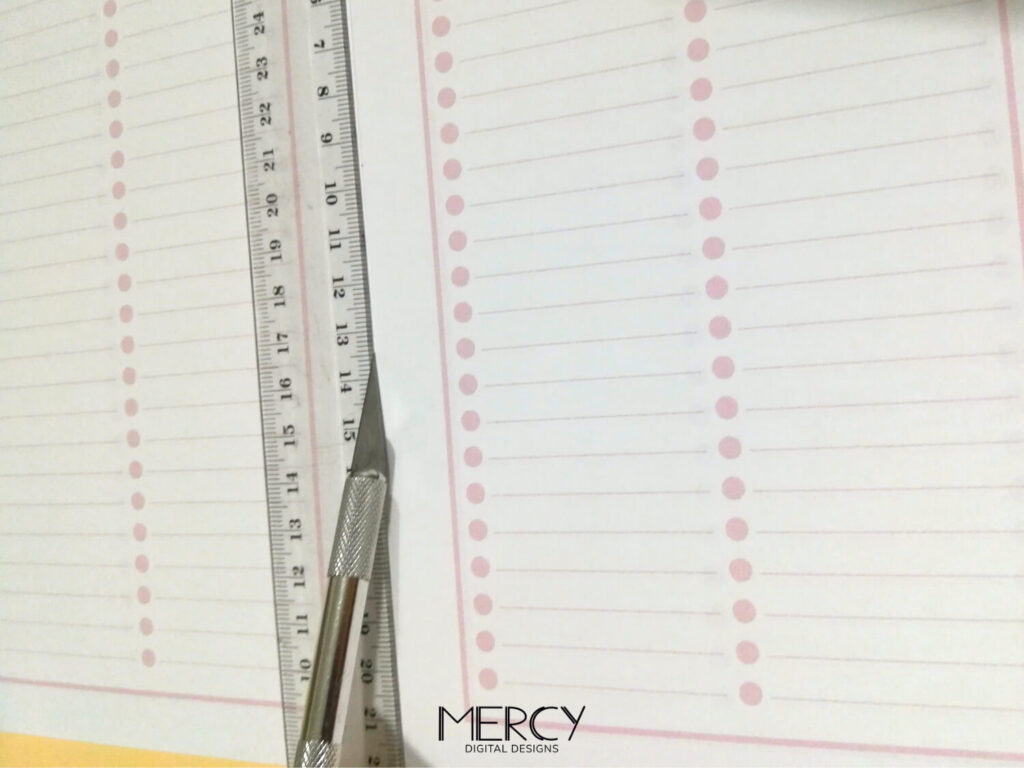
First, place your paper on a cutting mat or something similar, like a cardboard, to protect the surface. Then, align the ruler with the first crop mark you will cut. Keep in mind the ruler is aligned and over both crop marks on that planner’s side. Now, cut out that side of your planner.
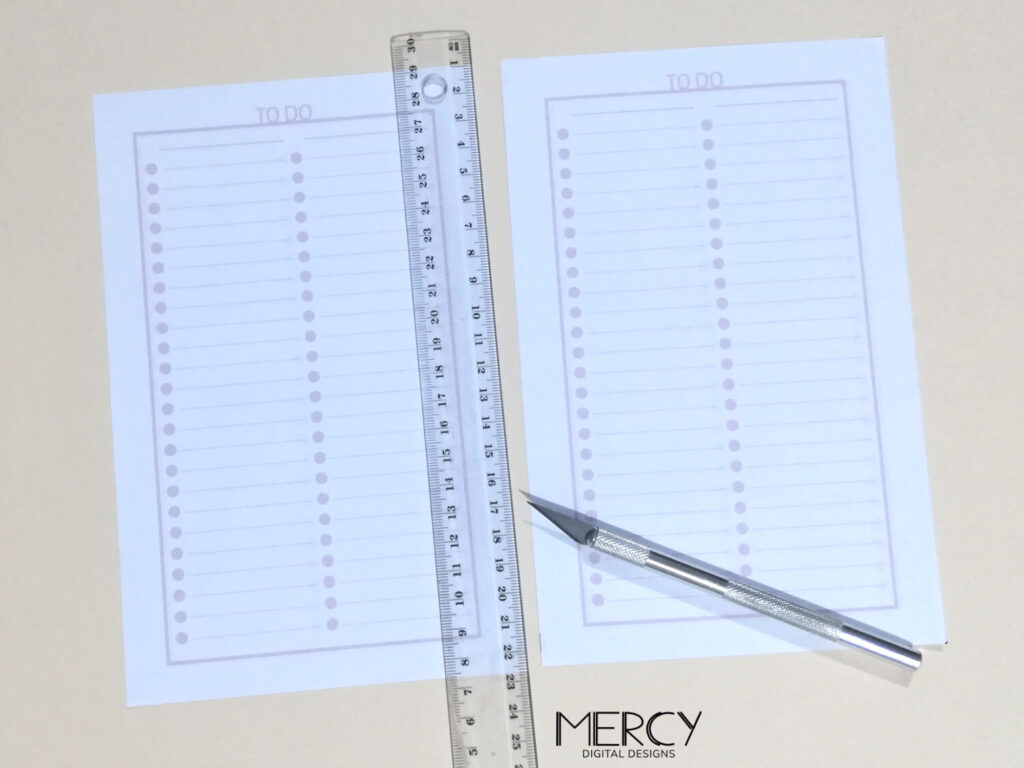
Rotate the planner and continue cutting though the crop lines until you finish.
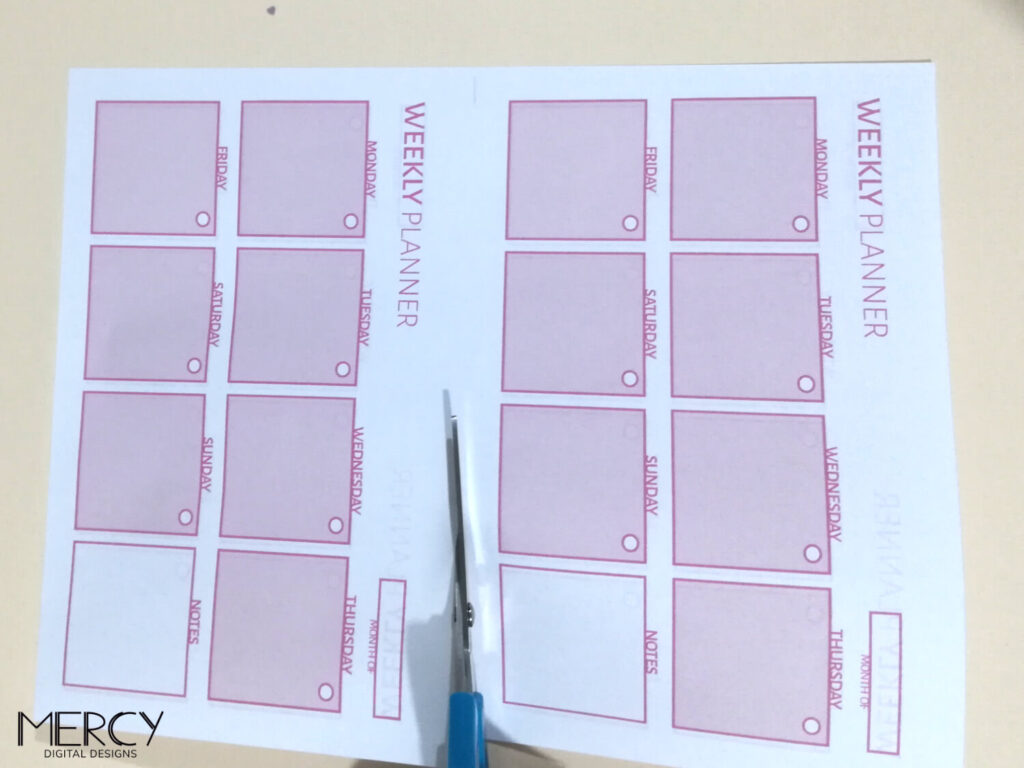
3- Cut your planner insert with scissors
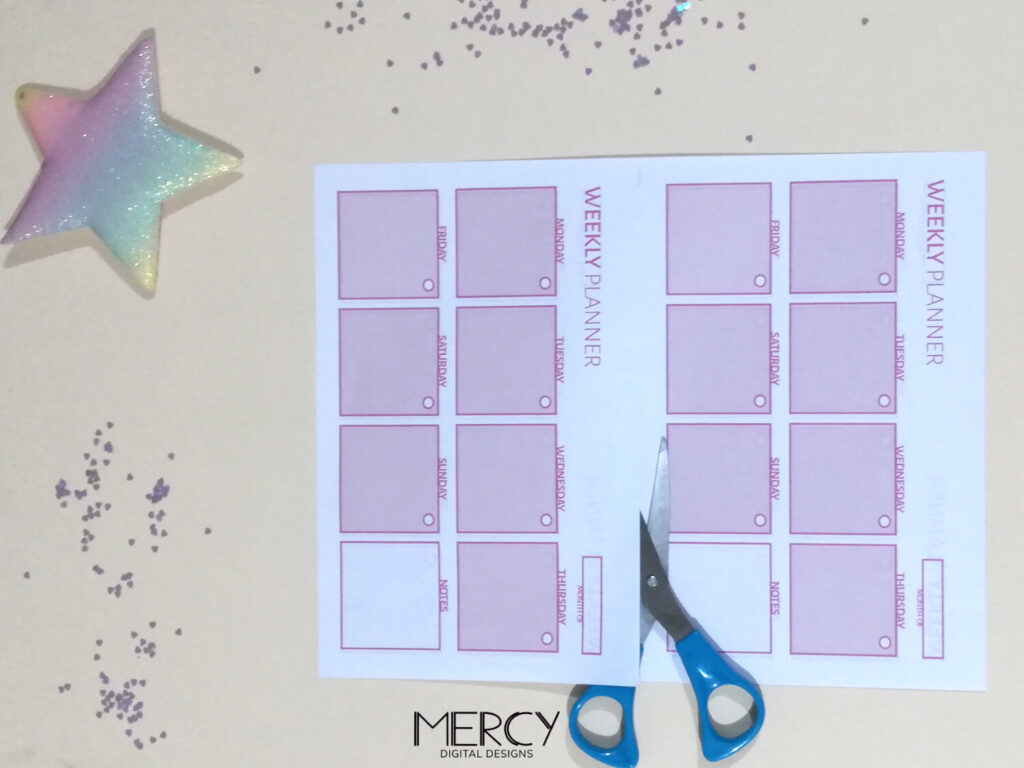
In effect, you will need a pair of scissors and your printed planner. Additionally, you could use a pencil and a ruler if you need some help for cutting the planner.
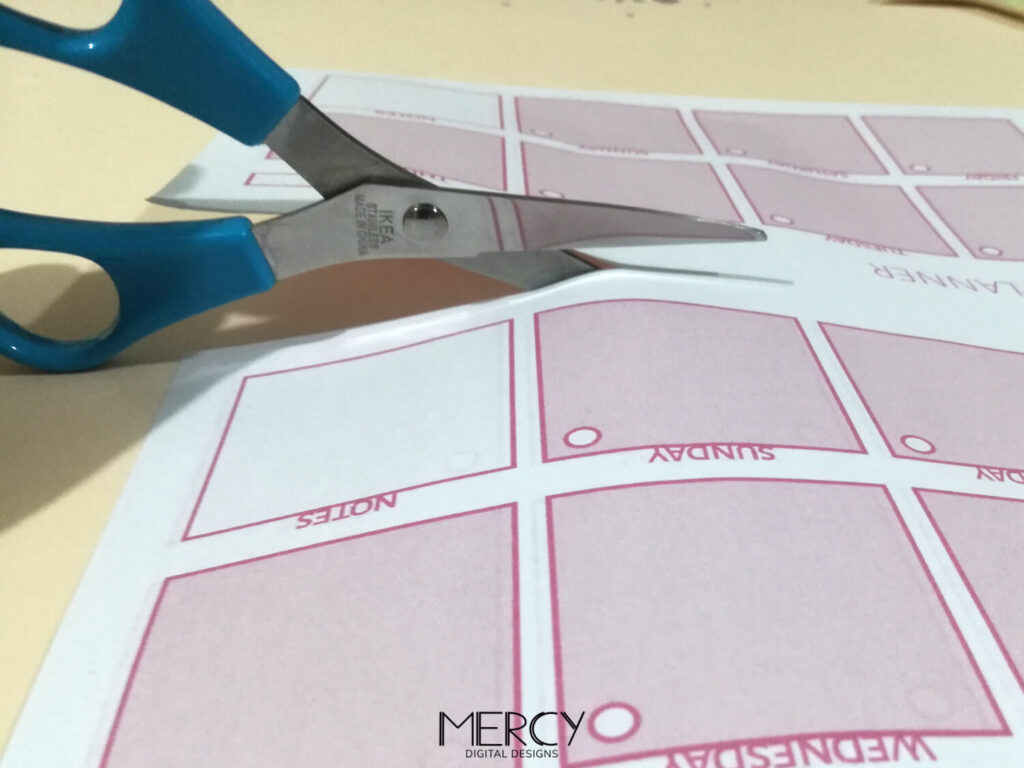
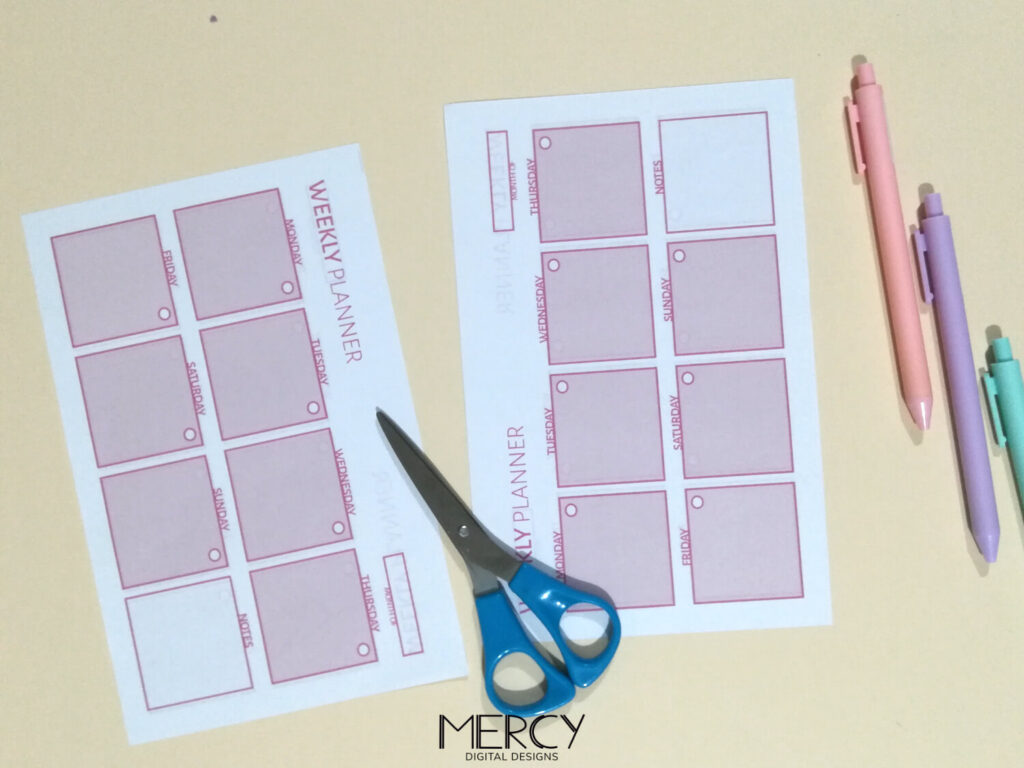
Simply, cut the planner from one crop mark to the other. In case you need some help, you could trace a thin line with a pencil connecting the two crop marks on every side to cut your insert with the scissors. Keep cutting each side until you finish,
Cut your planner with decorative scissors
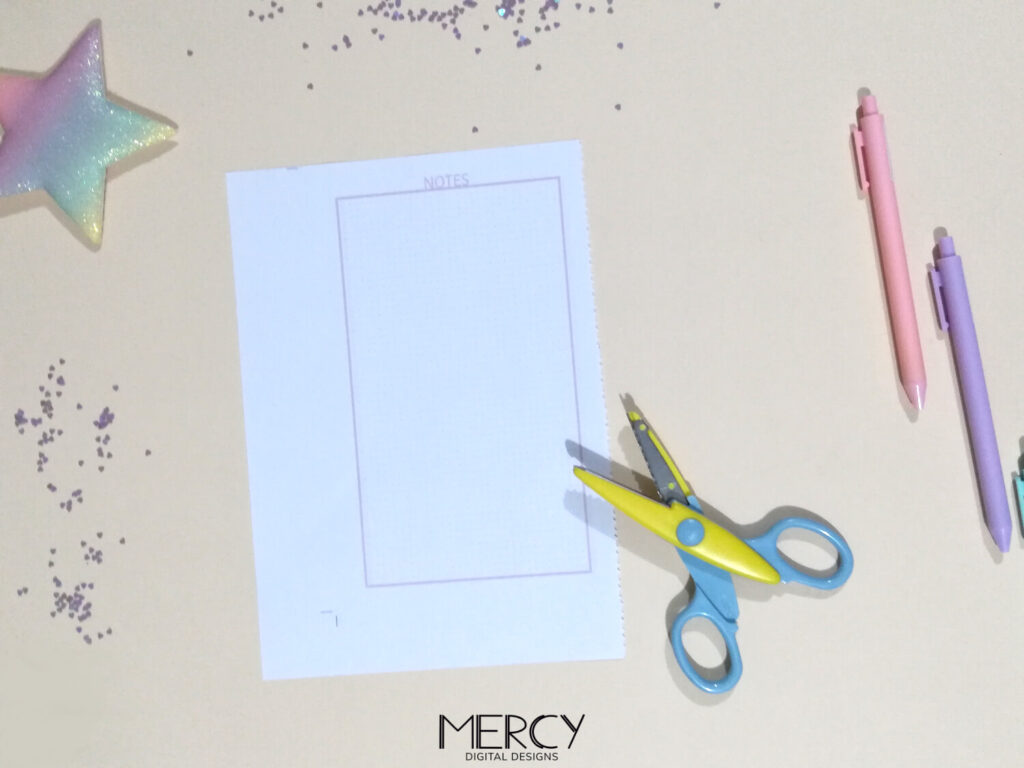
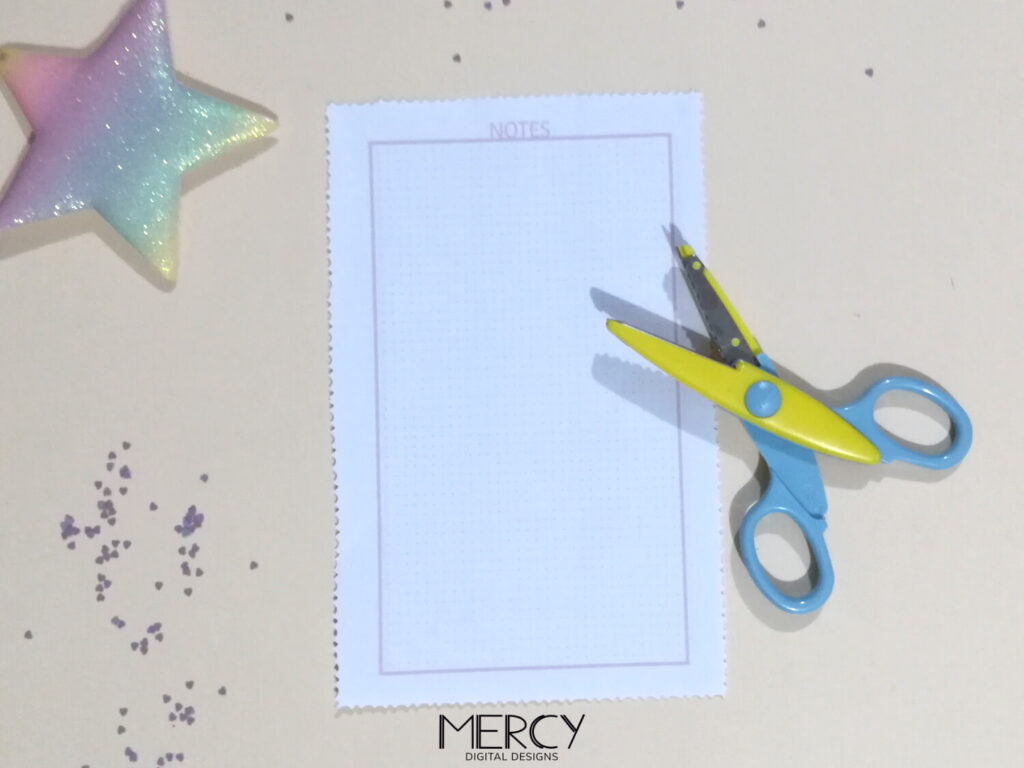
This is an original way to cut your planner insert. You will use scissors with a decorative edge, the scissors that cut with a beautiful zig zag or wave design. This method will be perfect if you plan to use your planner page in a grid or something similar. Also, it will be cute to incorporate to your binder if you cut some of them.
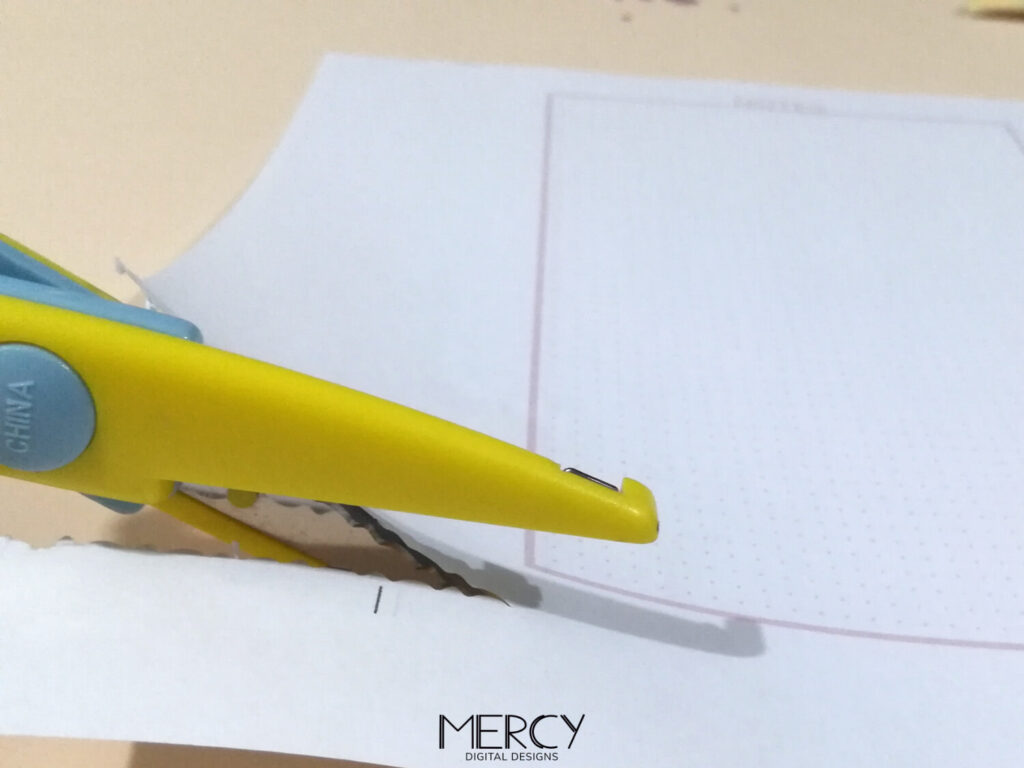
As stated before, cut through the crop mark from one mark to the other. You could trace a line connecting the two crop marks to make it easier for you to cut.
EXTRA: For a rustic look, cut your planner with a ruler
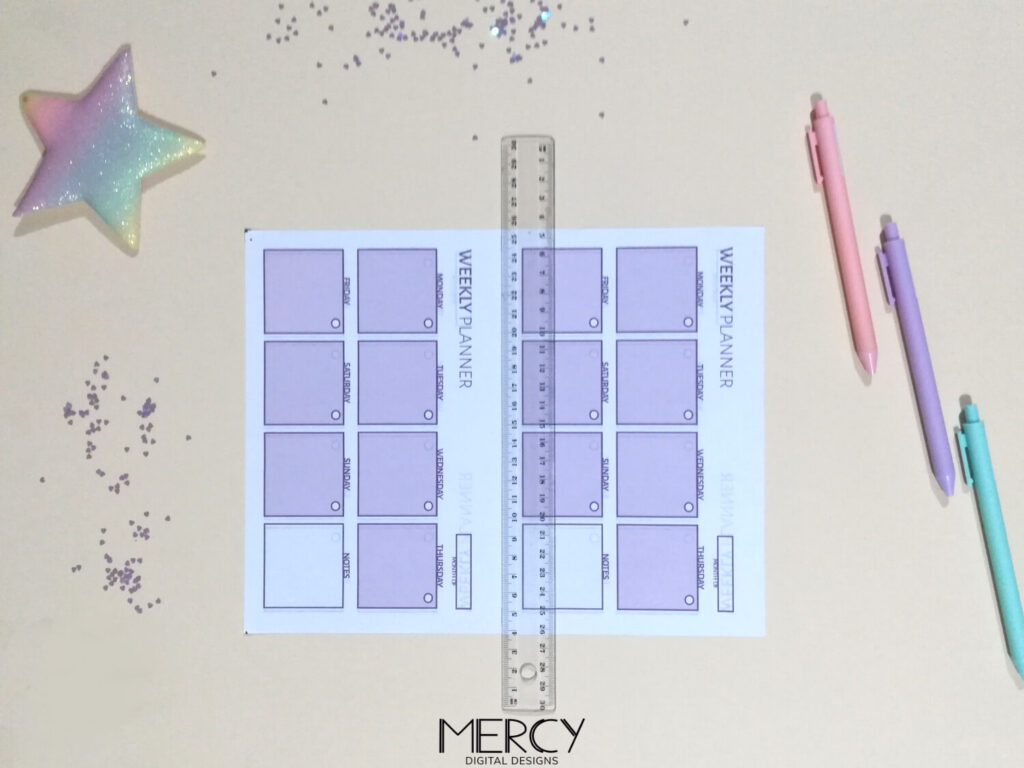
I know, this can be an unusual way, but could be useful to cut a couple of printable planner inserts, in case you use the planner in a small clipboard or you attach it to a grid. Not to mention you may use this way of cutting your planner to get a rustic look in your binder. At the same time, it is not recommended for trimming many pages because you would have to cut it one by one.
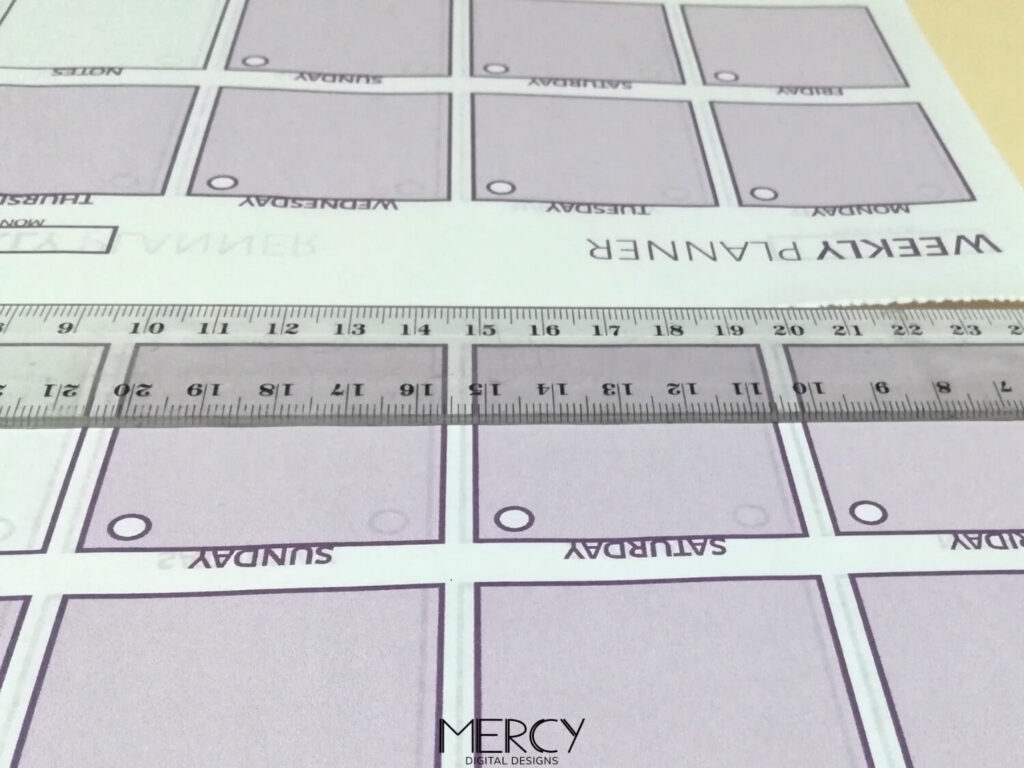
Again, place your ruler over the crop marks and press firmly. And tear with caution the side of the paper you want to remove. Rotate the paper and keep doing it until you complete it.
And that ‘s it! We hope you enjoy these ideas about how to cut printable planner inserts. If it was useful for you or you have another way to cut your printable planner pages, please tell us in the comments section.